
A few weeks ago, my attempt to paint my kitchen cabinets with chalk paint was a big fat FAIL. I’m happy to report that this mishap was but a temporary setback, and the kitchen cabinets are now completely finished!
In painting kitchen cabinets, or probably any furniture, there are two different approaches. There’s the finish-heavy approach, assuming that the paint you’re using can compensate for the lack of surface prep. You spend more time on finishing, though, because these sorts of paints require sealers and sanding. This is the approach that failed me earlier! Then there’s the prep-heavy approach, which requires lots of surface prep but the sort of paint you can use requires few coats and no sealer, so once you’ve painted you’re essentially done.
The prep-heavy approach was a success, but certainly not an overnight success!
So, what does the prep involve? In short, lots.
Step 1: Get Organized
Remove all of the cabinet doors and drawer fronts. LABEL EVERYTHING!!!!
Any set of cabinets has three components that need attention: the door & drawer fronts, the door & drawer backs, and the cabinet frames. After taking all the doors and drawer fronts off, you realize just how much work is ahead of you (And for once, you thank your lucky stars you don’t have a larger kitchen!)
Ideally you’d also remove the hinges from your doors, but mine are funny semi-concealed hinges that were really fiddly so I decided to leave them on the doors. I didn’t bother masking them… you gotta pick your battles.
Step 2: Clean & Degloss
Grab some disposable rags & gloves and move everything somewhere well-ventilated. It’s time to clean & strip!

The kitchen cabinets need to be completely clean & deglossed before you can move onto any sort of paint or primer. Some folks will sand the cabinets before getting to this step, but mine had so much decorative profiling I couldn’t imagine sanding everything effectively. Plus I hate sanding.
Every part of the kitchen cabinets you plan to paint needs to get cleaned (if necessary) and wiped down with a good deglosser. I used Krud Kutter Gloss-Off and it worked just fine for me but YMMV. I went through LOTS of these disposable rags… I soaked a rag pretty well and each one probably lasted for one, maybe one and a half cabinet doors, front and back, before it got too goopy/dry to keep using. It’s hard to tell whether it’s working while the cabinets are still damp, but after about 10 minutes you can see that the slightly shiny coating on the cabinets has been stripped away. This means you’re ready to prime!
PS – don’t forget to degloss the cabinet frames, too!
Step 3: Prime
It’s prime time. Spread all those doors and drawer fronts all over your living room and dining room floors…

See those little yellow things? Those are painter’s pyramids. Highly recommend them (or something similar) so your doors aren’t resting directly on your drop cloth.

This is after a single coat of primer on the backs of the doors and drawer fronts. This coat needed to dry for a couple hours minimum before flipping them over do to the fronts. The order you paint them in doesn’t really matter for the primer, but it will for the actual painting. More on that later.
The goal of the primer is just to get a relatively even coat for the paint to adhere to later, so no need to be too fastidious about the appearance. However… getting the primer everywhere, into all the nooks & crannies, is important. I used a 2″ brush for getting into the crevices and a small high density foam roller for everything else.
Oh yeah, don’t forget about those cabinet frames, too.


Step 4: Paint
It’s a little misleading to call this all one step, since it takes 4 days minimum.
By the end of this step, each cabinet door/drawer front needs to have its front and back painted twice, and the cabinet frames need a couple coats as well. There’s no shortcut here – just lots of patient work.
The big difference maker for me was the paint I used:

This is Benjamin Moore Advance in Deep Space Semi-Gloss. Semi-gloss was a compromise between the fiddliness and shininess (but extreme durability) of High Gloss and the ease of application and forgiving finish (but compromised durability) of Satin finish. I helped things out by dropping $7 extra on this latex extender which supposedly reduces the appearance of brush strokes and gives you longer working time. Who knows! I’ve never tried the Advance without it, so I can’t tell you what kind of a difference it makes.
Anyway. With a recoat time of 18 hours, get ready for four days in a row of serious painting! At 21 weeks pregnant it was a real joy to be hunched over and crawling around on the floor trying to get to all these doors and frames painted. Podcasts helped.


In the photo above, there’s only one coat on the door. Pretty nice coverage over the white primer, I think. I was heartened to see this because it meant that two coats would likely suffice, other than touch-ups. Those streaks from the roller disappeared as the paint dried. The latex extender at work? In any case, the paint took on a much richer, deeper, bluer color as it dried. Fun to see the fruits of the labor!
One tip – start by doing both coats on the backs of the doors/drawer fronts. Why? Well, after you’ve painted one side, and well before the paint has fully cured, you’ll need to flip them over and do the other side. The door has to be resting on something while you’re painting the other side, whether it’s painter’s pyramids or scrap blocks of wood… while you’d love for those objects not to damage the finished surface in any way, they usually find a way to stick or otherwise indent the surface.
I’d much rather have those imperfections appear on the backs than the fronts, so I leave the fronts for last! Thus, I started with two coats on the door/drawer front backs, then flipped everything over and repeated.


Oh yeah, and don’t forget about those cabinet frames!!
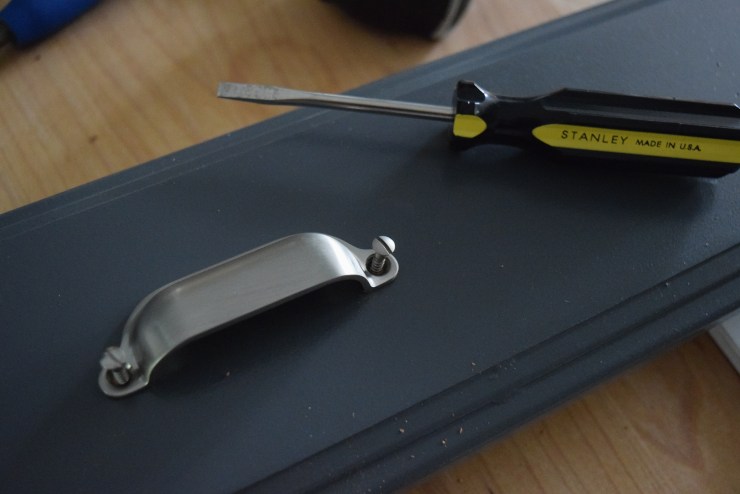
Step 5: Reattach Reused Hardware
Home stretch! I didn’t change my hinges, so I could just use the same mounting holes as before to reattach the doors. The labels I’d made were extremely helpful in determining where each cabinet door belonged.
I planned to change up the drawer hardware, so I held off on reattaching those until my drawer pulls came. I could, though, add the cabinet door knobs back on, and the kitchen started to feel like a kitchen again!


Step 7: Add New Hardware
I sprung for some swanky drawer pulls from Rejuvenation, so when those arrived I busted out my new Kreg cabinet hardware jig and got to work!


The Kreg jig is pretty straightforward – you set the distance between the two mounting holes for your pulls (mine were 3″ apart) and the desired distance down the drawer face. This was arbitrary for me, but once I set the depth it was consistent across all drawer faces. Center the jig on the drawer face – this was trivial for me because I could reference off of the holes for the old knobs – and clamp it in place!
Unfortunately, my pulls called for much smaller holes than the jig is designed for, so I had to fudge things a bit, but it all still worked out fine.

After drilling the holes, I used the provided screws to attach the pulls to each of the drawer faces.

SO CLOSE NOW! I used the old mounting holes to reattach all the drawer faces to the naked drawer boxes…

And then that was it. I WAS DONE WITH THE DANG CABINETS.
Step 8: Pat Yourself on the Back
I’m just so pleased with how these turned out, and so happy I went with gray instead of white!


Aren’t those new pulls dreamy?
Yes, after such an investment of blood, sweat, and tears, I’m using adjectives like “dreamy” to describe my kitchen cabinet hardware. Life is funny sometimes.


The whole kitchen looks dreamy. Nice job Carly.
I second that!
Thank you both!! 🙂
Would you recommend polyurethane over painted cabinets with a lower quality paint?
Jackie, I’m so sorry this comment slipped through the cracks! Honestly, I’m out of my depth in that situation. If the initial paint job was bad (done poorly/with poor materials) there’s really no amount of re-coating that will fix the primary issue, which is adhesion. If possible, stripping the old paint off would be the best course of action. Short of that, I’m not sure what the “right” thing to do would be!
AWESOME!!! They look fantastic!!! YAY – you’re done!! Pat yourself on the back!
❤️❤️
Just beautiful!!! Love the color! Love the handles! Very professional job!!
High praise!! Thank you, Donna!
You. Are. Amazing. The end.
And YOU are so kind!! Thank you 🙂